 by
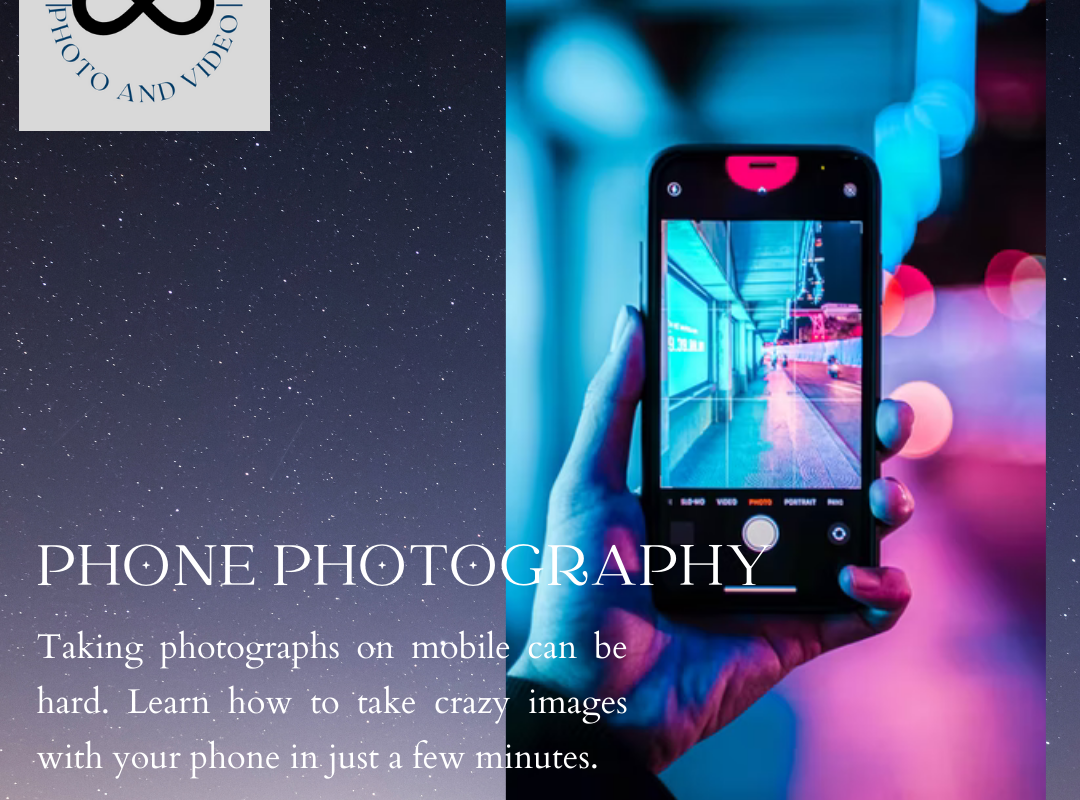
by One of the most common questions we get asked is how can you take better photos on a mobile camera. Now, many beginners might think that photography is all about using a professional camera, and being able to shoot at manual and tweak every little thing to perfection; but the truth is that even professionals don’t always have a ‘pro’ camera on hand, and sometimes you have to be able to make the most out of your phone. Phone cameras are a great way to capture memories, and they can also be a great tool for beginners to get to learn photography and decide whether or not they enjoy the hobby.
Taking photographs from phones can be slightly different from cameras, phones tend to have smaller sensors and lenses that aren’t as versatile as a professional camera. But at the same time, modern phones have been able to use software to make the photos look much better automatically in post. Here are some tips to make the best out of your phone’s camera, and can make the photos you take from your mobile device look ‘pro’.
(Note: Many of these tips can be used for any type of mobile phone, but some tips that will be marked with an asterisk can only be used on iPhones)
#1: Use Live Mode for Portraits*
Live Mode, for those not aware, is when the phone takes a sequence of images when taking the photo, to create a short video-like clip. When shooting portraits in live mode, even if the subject moves or your hands shake while taking the photo, you can go into the editing section and select one specific image you want and use that as your primary photo. This small tip is a very good idea when capturing family photographs and memories and can make your life a whole lot easier (especially if you have babies).
#2: Take Long Exposure Shots using Live Mode*
Long Exposure shots are one of the best ways to make your images look professional. It’s a great option to use long exposure shots when you have a moving object in the background, maybe a moving car or train. All you have to do is take the image as you would using live mode, then swipe up and change the option to long exposure. This will make the software layer the images together to make the train look like it’s moving in the background, which comes out as a beautiful blur of light, with the subject in the foreground not affected by all this movement.

PC: Can’t seem to find the taker of the image
#3: Learn how to compose your photos
Composition is one of the main important parts of any art form. Learning how to compose your photos and how to make your subject pop out and catch the viewer’s attention is a very important part of taking excellent photographs. We have a whole article on how to compose your photos, that you can access right here!
#4: Learning how to use light to create depth
Have you ever had one of those moments, where you see something stunning, but when you try to take a photo, it just doesn’t look that good? Maybe the image looks too flat, maybe the colors don’t pop out, maybe the photo has the same composition but just gives a whole different feel. We forget that cameras can only see in 2D, while we can see in 3D. Learning how to use light in your images to give them a sense of depth is key to taking good photos. We have a whole article on how to use light in your photos, click here to check it out.
#5: Move and rotate your phone
Rotating your phone is one of the best ways to drastically change how a photo looks. Phone’s, unlike DSLR or Mirrorless cameras, don’t have centrally placed sensors. Rotating the phone can bring the lenses closer to the ground, which sometimes can provide a whole different experience to the viewer viewing the image. Another thing you want to do is stop shooting at eye level, try to use different camera angles to capture the same image. You will be surprised at how different your photos might look by just changing the camera angles slightly. Trying to capture different perspectives and experimenting with different viewpoints can help you start to understand how to make your images more aesthetically pleasing.

PC: Valentyn Chernetskyi
https://unsplash.com/@valik_chern
#6: Use Accessories
You might think that you can only use different lenses on professional cameras. But using different lenses on your phone is one of the best ways to capture different types of photos. Adding a wide-angle or fisheye lens can help you take better landscapes and using a telephoto lens can be a great option for wildlife photography or portraits. A tripod is one of the best ways to get shots in low light, by just decreasing the shutter speed. Tripods are also a must for long exposure shots. For accessories, it’s best to get what you need and what you think you might need. However, gear like a tripod can come in handy in many situations and can change the way you take your photos. I’d recommend you to shop for some basic gear or maybe borrow a friend’s and experiment with it, if you use it more than you thought you would, but it.
#7: Edit your photos
Many beginners I talk to think that editing an image is changing it up completely or making it look significantly different from what it was before. Some people I talk to even compare it to cheating! However, editing isn’t about changing the image itself, it’s about enhancing it. Editing can be used to bring out the best in your images and make them look more professional. Just a quick editing session can drastically change how your photos look and can make them look seemingly more professional. Editing is one of the best ways to actually learn how to take photographs too, because once you realize what type of images you want after experimenting with them in post, you can try to create images like that straight from the camera. The software you use doesn’t matter as much as you think it does, and there are plenty of free versions out there to get started with. You can also use pre-sets, pre-sets are a great way to make your photos look better even if you can’t edit at all. Editing is one of the most important parts of photography, and I try to convince everyone taking photos to consider trying editing out sooner than later.
Conclusion:
There are infinite ways to make your photos look better, but these are the best tips I have at the moment to help you take better photos with your phone. Taking a photo with a phone, as it happens, isn’t much different than using a camera. A lot of the composition and editing tips are the same, and just because your shooting with a phone doesn’t mean that light changes its properties. As someone that primarily shoots with a professional camera, shooting with a phone can feel very different at times, but phone cameras are better today than they have ever been, and are excellent tools that you can use to take better photos. As long as you keep on experimenting with your phone, you will keep on learning and finding ways that ‘work’. Remember, art is not about rules, and all the tips mentioned aren’t absolute, as long as you like your photos it doesn’t matter if you don’t follow any of the tips on the internet. Be sure to leave some of your favourite phone photography tips in the comments down below, and I hope you can take something away from this article.