 by
by How do you compose your photos?
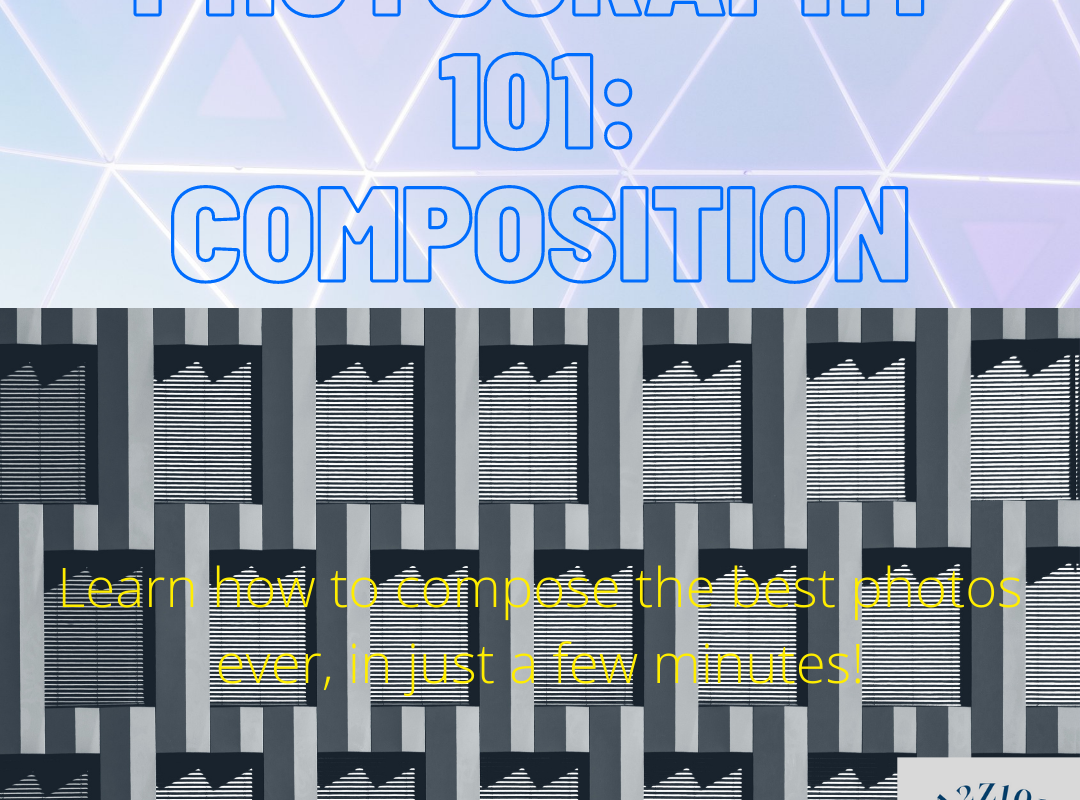
You have a camera, you have the interest, the next step is learning how to make your photos beautiful. When I was doing some research to find some tips that I might want to include in the article you are reading right now, I read a quote that really resonated with me, “Good composition is the ability to make the viewer’s eyes dance with the image”. If you want to take one thing from this post, remember that statement – if you can make the photograph captivating, it is going to be considered ‘good’. Now, you might ask, how do I make my photographs captivating, which is essentially asking how to compose the photographs.
Many people make composition very complicated, adding complex diagrams and different ratios that can make newbies go crazy. However, composition isn’t as crazy as many people think, it might be one of the most important parts of photography, but it’s also one of the easiest, especially once you get the hang of it. Composition can change how viewers look at your photos, and best of all, composition doesn’t demand extra money like getting better gear does, but in most cases makes your work look a lot more professional.
Art isn’t about boundaries and following suit, composition doesn’t have any specific rules. You should always try to experiment as much as possible and do what you think works best for you. But there are some tips that can help you take your composition to the next level:
#0: Practice:
‘Practice makes perfect’ might be one of the corniest phrases ever developed by man, but it holds true for most cases. Practicing composition is the only way one can truly master it, so I encourage you, after you read through all of those ‘real’ tips, try to practice for a while to actually develop your composition skills to the max.
#1: Rule of Thirds
The Rule of Thirds is by far the most popular tip on this list and has been proven to hold it’s ground countless times in the past. It’s also one of the simplest ones to implement, and it is also one that can drastically change the viewer’s response to your photograph. All you have to do is place the subject on the right or left third of the image and leave the other two-thirds relatively empty. This tip works great for things like landscape photography and is even used in more advanced variations for other genres of photography. In portrait photography, for example, the rule of thirds is used to highlight the eye-line of the subject, where the eye-line is either placed at the top third or the bottom third. The Rule of Thirds is one of the most simple and versatile tips for beginners and can even be used for other forms of art.

PC: Arnold Leow
https://unsplash.com/@arnoldleow
#2: Isolate the Subject
To make a picture look good and ‘professional’, it needs to have a subject that immediately pops out of the screen (or frame) and mystifies the viewer. Isolating the subject is the best way to distil the photograph to make the viewer’s focus singular, and thus less distracted and more focused on the subject you are trying to capture. Isolating the subject can be done in many ways, for some still life’s for example you can just have the object put in a minimal setting, eliminating distraction and forcing the user to focus on the subject. For an environment with a lot of distraction, opt to focus on the subject, slightly blurring the background out. Both of these methods work very well, and there are countless other ways that you can achieve isolating the subject. Practice by just finding one random thing at your house, and maybe moving it around, and trying to capture its beauty. It can be something simple, as long as the composition is done well enough, the viewers will be captivated by the image.

PC: Alex Perez
https://unsplash.com/@a2eorigins
#3: Fill the Frame
There might be instances where you can’t move the object around, and sometimes you think you use the Rule of Thirds too much. Another way to captivate your viewers is by filling the frame. Everything in your photograph is the subject, there is nothing else – no free space. This automatically forces the viewer to look at the subject, and it helps bring out the beauty of anything – simple or complex. Spaces where this might work include macro photography and architectural photography, but you can use this almost anywhere.
#4: Use Geometry
Shapes are beautiful to the human eye. Humans have always been fascinated with geometry, and geometry pleases the human brain, especially in instances of art. Images that have beautiful minimal lines, or maybe circles, or even more complex geometrical figures captivate the human mind easily. Many photographers might think that they don’t have access to that geometry, but to quote every geometry teacher I have ever had – “Geometry is Everywhere”. And they are true, just try to find whatever geometrical figures you can, wherever you can and use them to compose your photos. Another way to use Geometry is to use angles, angles force our eyes to draw attention to a certain point. Adding sharp angles to your images makes them look a lot more minimal but also makes them more interesting at the same time. Geometry is one of the best ways you can make even the most dull objects look cool, and give your photos that professional vibe you have been looking for.
#5: Symmetry and Central Images
Just like Geometry, the human brain loves symmetry. Symmetry is one of the best ways to compost your photographs, placing your subject at the centre of the image. An example could be a tail with cornfields on both sides, which not that you are imagining it makes for a really good photo. Adding a central horizon to that image, where the clouds start appearing in the upper third, and the sky and the ground are separated exactly at the middle makes a photograph look much better. Using symmetry and adding it even to existing images through editing, can make some photos look much better.

PC: Jackson Jost
https://unsplash.com/@jacksonjost
#6: Foreground and Depth
This is all about adding a comparison to the subject, for example, we might have a house and then a huge tree coming out behind it in the distance. This tree lets the user estimate the size of the house, and provides a sense of depth, making the photograph look 3 dimensional almost. This sense of scale is very important and is used for many minimalistic pieces. We have a whole article on using light to create that depth, click here for more information.
#7: Pattern
I’ve talked about the human brain loving a lot of things in my tips so far. But if there is one thing we love, more than anything else, it’s patterns. That repetition gives us a sense of comfort. In photographs, for example, that repetition helps the artist emphasize on the subject multiple times throughout the frame. This repetition is much more captivating and forces the viewer to look at the image multiple times. When the viewer looks at the image multiple times, it tricks the brain into thinking the viewer likes the image, and it thus creates an emotional response akin to us liking particular sites or places. Patterns can be one of the best ways to capture photographs without much work or effort otherwise, but obtain breathtaking results.

PC: Joel Ambass
https://unsplash.com/@jcambass
#8: Colour
Photography is all about playing with light and colour. And manipulating colour to create a contrasting image is one of the best ways that you can compose images. We as humans love when colours pop together. If you mix red and yellow peppers and take a photograph, they look fine. But as soon as put red and green together the colours really start to bring each other out and create a better look. Manipulating colour also depends on user preference, and the best way to learn how to play with colours would probably be to experiment and learn what colours work best for which situations and how you can add colour to your compositions.
#9: Negative Space:
This is the opposite of filling the frame, it involves a tiny subject and a lot of unused space. This forces the viewer to look deep at the subject and analyze it and puts a lot of emphasis on the subject of the image. With photography, not all tips work together, and it’s a lot more of learning what works best in what situations, that can help you add to your composition game. Negative Space photographs can look beautiful at times, especially with landscapes where the photographer wants the viewer to focus on one small part or even other types of photography.
#10: Framing
Framing works in a few ways. It can simply be using things within the photograph itself to frame other parts of the photograph. Framing can also be used together with Geometry, using shapes for example to show something else within the shape. An example can be a window in a frame (with the window not taking the full frame of the image), and then maybe something outside or inside of the window, that the window is framing. This technique can put even more emphasis on a subject and can be used to take many professional-looking photos. Another example for framing is a shot of a room with an open door, with the actual subject, say a silhouette behind the door. Once you began to experiment with framing, it becomes easier to start learning what to use to frame, and how to frame so that you can put more emphasis on your images.

PC: Untung Bekti Nugroho
https://unsplash.com/@hello_untung
# 11: Learn how to position yourself
Essentially what positioning yourself means, is to just try to shoot from different positions, capture as many angles as possible, try to have enough photos tell the complete story. The position of the photographer and the camera, also happens to be the position of the viewer, and how the viewer is positioned really changes the experience of looking at a photograph. You might want a cool close up but trying out different lenses and angles might change your mind about the best way to capture the same thing. A lot of portrait photographers for example, always shoot at eye level. There is nothing wrong with shooting at eye level, and that is how we see the world, but sometimes changing the angles can make the shot look different, and having a different photo is one of the best ways to make it look interesting.
Conclusion:
Composition in photography isn’t about rules, or ratios or techniques. Composition is based on feel. Does this image look right? Do I think this is the best way I can represent this subject in this frame? Asking questions like there to yourself when taking photos is probably the best way to improve your composition. All of the tips given are just some ways to make the photos look right. Or ways that have worked the best for photographers like myself in the past. These tips can help you launch your base as a photographer, but the best way to do photography is to experiment. And to close, if you want to do one thing, Experiment.